2026-09-22
Repairing casing injuries before retreading: cleaning out, filling and spot curing
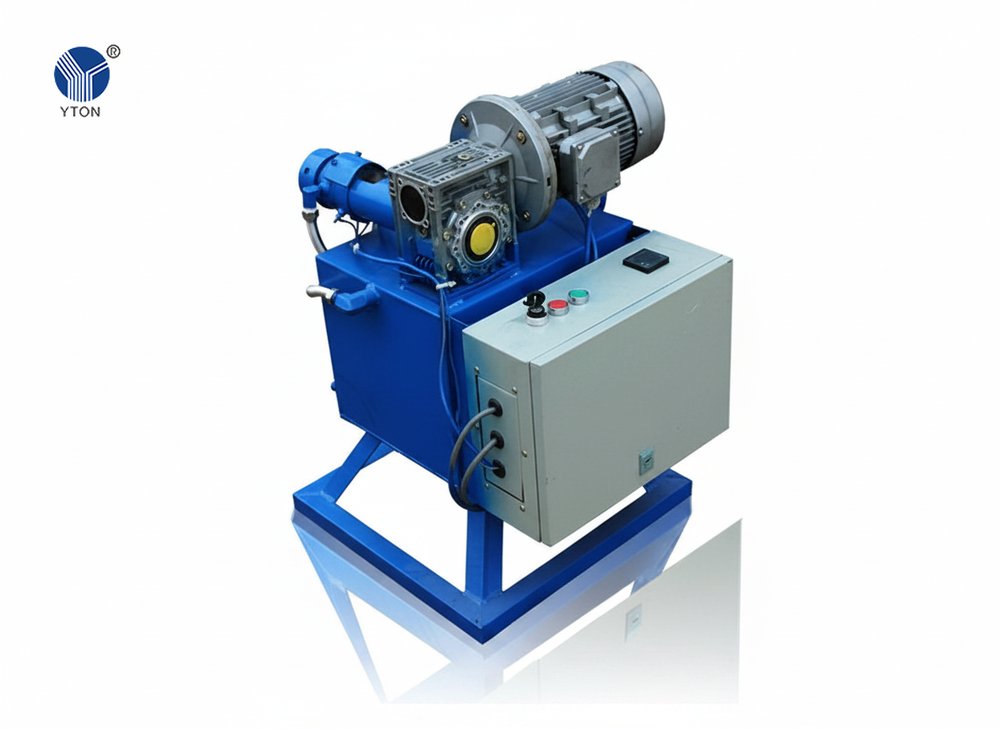
Between buffing and building there is a step that is easy to rush: repairing the casing. Buffing strips the old tread and exposes every nail hole, cut and stone injury in the crown, and each one has to be cleaned out and filled before the new tread goes on. An injury left open under a new tread is a pocket of trapped air, and trapped air is where a retread often starts to separate. Here is how the repair station works, in the order the casing goes through it.
Step 1: inspect and mark. Right after buffing, go over the whole crown and both shoulders under good light and circle every injury with chalk. This is also the moment to decide which casings are not worth repairing: injuries larger than your repair material supplier allows, broken steel cords exposed over a wide area, or separation between the belts. Those casings go to scrap, not to the repair station.
Step 2: clean out each injury. With an air grinder and a suitable grinding head, grind every injury out to clean, sound rubber, and remove any loose or rusty material around exposed cords. Shape the cavity with smooth, sloping walls and no sharp corners, so the gum can fill it completely without trapping air. On OTR tyres, where damage often runs deep into the tread, an OTR skiving machine (our YTD-G2S) skives out the deep damage and reshapes the tread; it works alongside the OTR buffing machine.
Step 3: cement. Blow out the dust, then brush a thin, even coat of cement into each cavity and let it dry as your supplier specifies. The cement is cushion gum dissolved in solvent; a cement mixer such as our YTDJ-01 (70 L working volume, 1.1 kW) stirs it in a sealed drum so it dissolves faster and more completely. Do not touch a cemented surface: oil and dirt from hands are a common cause of poor adhesion.
Step 4: fill with gum. The casing turns slowly on a stand while the operator fills each cavity with hot gum from the extruder, working from the bottom of the cavity upwards so no air is left inside, until it is completely full and level with the buffed surface. Our YTJJ-04 extruder (1.5 kW) delivers about 2 kg of gum per minute, roughly 10 seconds per repair hole. For a few small spots, a handheld extrusion gun is enough.
Step 5: through-injuries also need a patch. If an injury goes right through the casing, filling it from the outside is not enough: the inside is prepared and fitted with a repair patch as well. The spot vulcanizer (YTJB-01) applies heat and pressure to that one area so the patch bonds firmly to the casing. It handles car, motorcycle and truck tyre spot repairs, and a 220 V version is available for export. The repaired casing then goes on to building and curing with its new tread.
The three mistakes we see most often:
1. Filling without cleaning out. Gum pressed over loose rubber, rust or dust has nothing sound to bond to. The repair looks fine and fails later, under the new tread.
2. Wet or dirty cement. Building over cement that has not dried, or that someone has touched, leaves a weak layer exactly where the repair needs to hold.
3. Trapped air. Filling too fast, or a cavity ground with steep walls and sharp corners, leaves a small air pocket inside. It expands in the heat of the chamber and can lift the tread over the repair.
A repair station does not need much floor space, but it should have its own place in the line, so repairs are not squeezed in at the building station. In the lines we supply, the repair station usually has a spot vulcanizer, a cement mixer, air grinders and grinding heads; the extruder sits at the building station, where it also lays an even layer of cushion gum on the buffed casing. To plan the stations for your plant, send your tyre sizes and daily output to mingtong@yton.cc, or run the plant calculator first: new.yton.cc/en/calculator/.